

Modern responsive designs are just a few clicks away

Nowadays, the first question everyone asks when you introduce SharePoint is, “Can I use my own device?” -- and that’s where LiveTiles shines the brightest.
SharePoint is an excellent tool to communicate and facilitate collaboration within your team, however it is lacking in one rather important area - it is not for all devices. Microsoft has been making an effort to make SharePoint more mobile friendly on Office 365, but these features are still very basic and not available via on premise versions.
With LiveTiles, you can not only create modern looking pages within a few clicks, but also your pages in SharePoint become fully responsive, meaning it will work nicely no matter which device you're using.
If you're not familiar with LiveTiles, it is a tool you can install in your SharePoint Online environment (if you are on Office 365) or SharePoint 2013-2016 (if you have an on premise environment).
To create a responsive page in LiveTiles, you can follow these steps:
1. On LiveTiles Design Manager: select Create > Blank Responsive
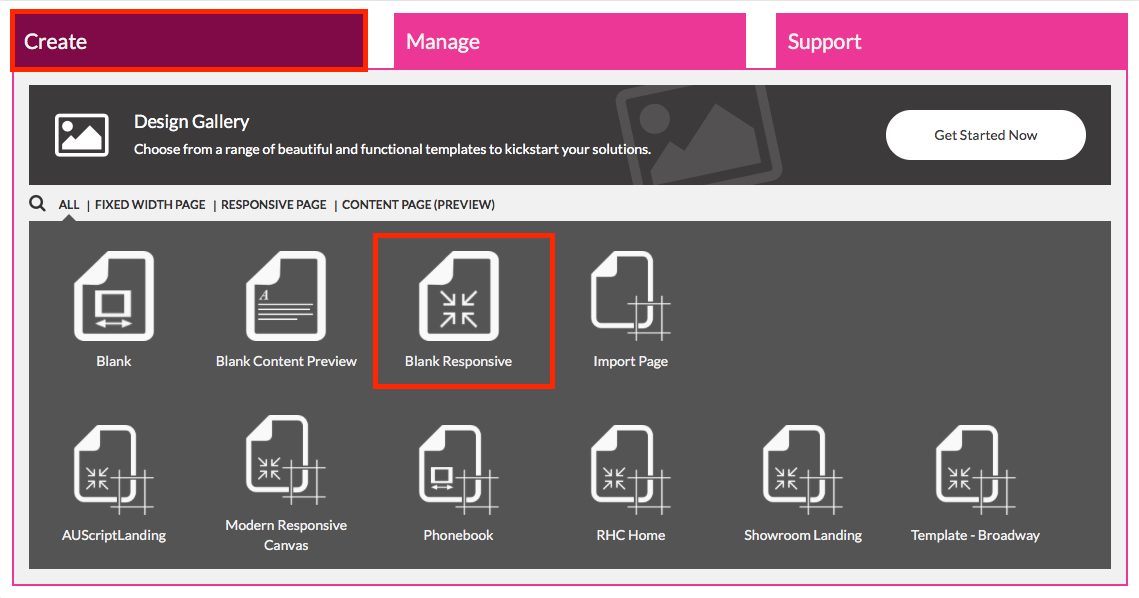
2. Now you can select a pre-built grid layout to accelerate your page experience or a blank template. To show you how easy and fast is to create a page, we are going to select Blank Canvas.

3. Now on your blank template you need to add a row. Please go to Rows, and select Row.

4. In the Row menu, you can define how many columns your row is going to have, up to six columns per row. On my sample page, I am going to have 2 rows, one with 1 column and another with 2.


5. Now that we have our rows and columns, we just need to start adding tiles in. Within the Tile Gallery, you can see a large range of tiles which vary from SharePoint lists to social media newsfeeds. On our sample page, I am going to have a top menu, an image carousel and a document list.

6. To add the top menu, drag the Nav Bar Menu tile to the first row. It will automatically show the tile with some sample data in it.

7. Now drag the Picture Gallery tile into the left-hand side, and again it will automatically display the tile with a few sample images.

8. Next, drag the My List tile to the right-hand side so it shows our document list.

9. Now to update the source of our top menu to follow your SharePoint top navigation, click on the menu tile, then on the settings icon.

10. On options tab, click on Links, select Global, then click on Done.

11. All we need to do now is to plug our tiles into our SharePoint lists. For that, click on the tile, then click on the settings icon.
12. Now on List or General tab (depending on the tile you are setting), click on the search icon on List Path. Next, just select the list you want to be the tile’s source.

To view quickly your page, click on the Quick View link on the top.

If your page is as you wish, just click on Save As and select Save As Page. Give your page a name and title, and that’s it.

Now you have a page in your SharePoint site that works on a desktop, tablet and mobile device.
LiveTiles offers many more advanced features that we can discuss in future blog articles, or you can contact me directly for information.
To find out more on LiveTiles, go to www.livetiles.nyc
To reach out to us, please email info(at)sharingminds.com.au