

Often, we are so used to our daily tasks at work that we do not realise how time consuming they can be. What if I said you can automate some of them with a few clicks?
Microsoft Flow
Microsoft Flow is a platform to automate small tasks, thus you can be more efficient at work. It is available on Office 365 tools and you can create and manage your Flows from any device; it also has apps available for iOS, Android and Windows devices.
Introduction to Flows video: https://youtu.be/4EKWKJc4b4c
With Flows, you can automatically save email attachments, create notifications, collect data and connect to your Social Media accounts.
There are many real-life tasks where you can use Microsoft Flows to automate, such as:
Automate the agenda distribution to all board members before a board meeting
Notify the customer care department when a customer complaint is added into a SharePoint List
Automatically copy images from the official company Instagram account into a SharePoint Picture Library so it can be shared internally
In this article, I am going to create a Flow to that adds a One Note page in my notebook for upcoming meetings.
Building the Flow
First step is to log into your Office 365 account. Please go to http://portal.office.com/ and log in with your work or school account.
Now go to your Apps menu and click on Flow.

On the landing page, you can see all Flows that have been created in the past as well as create new Flows.
To create a new Flow, you can either create a blank Flow or select a template. Microsoft has provided hundreds of useful templates that are ready to plug and play.
In this example, we are creating a blank Flow, so go ahead and click on 'Create from blank'.

The first step on a Flow is a trigger, and for that we need to find a connector which is going to contain our trigger that starts our Flow.
You can choose several different connectors and actions that can trigger your Flow. In our example, we'll click on 'Search hundreds of connectors and triggers'.

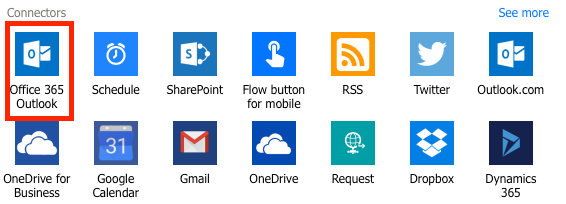
In the Connectors section, select the connector 'Office 365 Outlook'.
Next, in the search bar, search for Calendar and select the trigger 'When an upcoming event is starting soon'.

Next, select 'Calendar' in the Calendar Id drop down, then click on + New step > Add an action.

In the search bar, search for 'OneNote' and click on 'Create a page in a section' action.

Select your OneNote notebook in the 'Notebook Key' drop down, then select the note’s section you would like to add the page to.
In the Page Content, you can input the automated content you want to have in the note page, you can also use the parameters from the meeting metadata. In my example, I am adding the subject in my page first paragraph.

Now that your Flow is complete, you can give your Flow a name and click on 'Create flow'. After that, click on 'Done' and your Flow will be ready to run.

Testing the flow
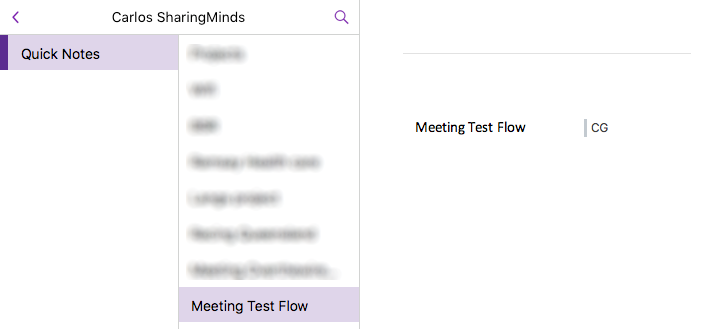
To test the Flow, I have created a new meeting for the next 30 minutes. When I got the 15 minutes notification to the meeting, the Flow was triggered and created a page on my Quick Notes.

Templates
Microsoft has made available several Flow templates to automate your daily tasks that are ready to plug and play. Here are a few samples:

Enjoy your newfound freedom!